How to Make Your Lips Look Bigger with Makeup the Right Way
While there are many procedures and products aimed to giving you a plump lip look, they don’t come without a trade-off. Fillers are expensive and can migrate, and lip plumping glosses can hurt! I’ve aways thought using makeup to make your lips look bigger is the way to go.
If you’ve never tried overdrawing your lips, it’s not as easy as just putting pencil to skin. It’s very easy to overdo it, or have the lining look too obvious. Today, I’m sharing my favorite tips on getting a lusciously overdrawn lip that looks as natural as possible. Keep reading to see how to make your lips look bigger with makeup alone!

What You Need:
What you need to achieve this look is a matte lip liner and a lipstick. Matte liner will help conceal your natural lip lines. I prefer using a lip liner that’s just slightly deeper than my lipstick as well, which contours the lips and helps create the new shape.
Products I’m Using:
- L’Oreal Colour Riche Lip Liner in Worth It Medium (Amazon, Ulta)
- L’oreal Colour Riche Satin Lipstick in Worth It (Ulta, Target)
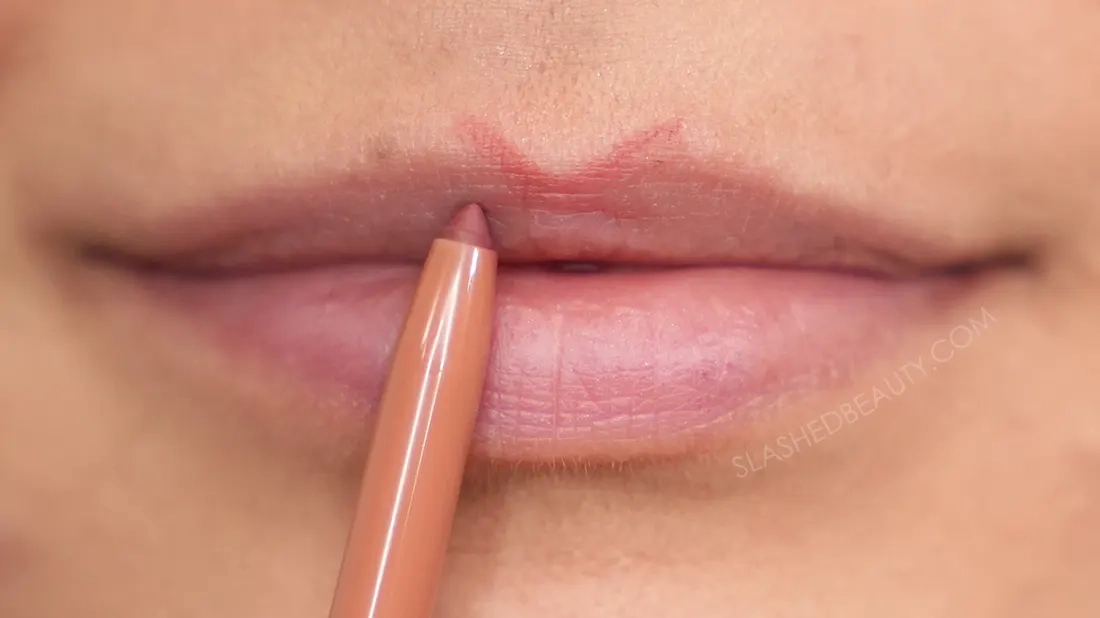
1. Start at the Cupid’s Bow
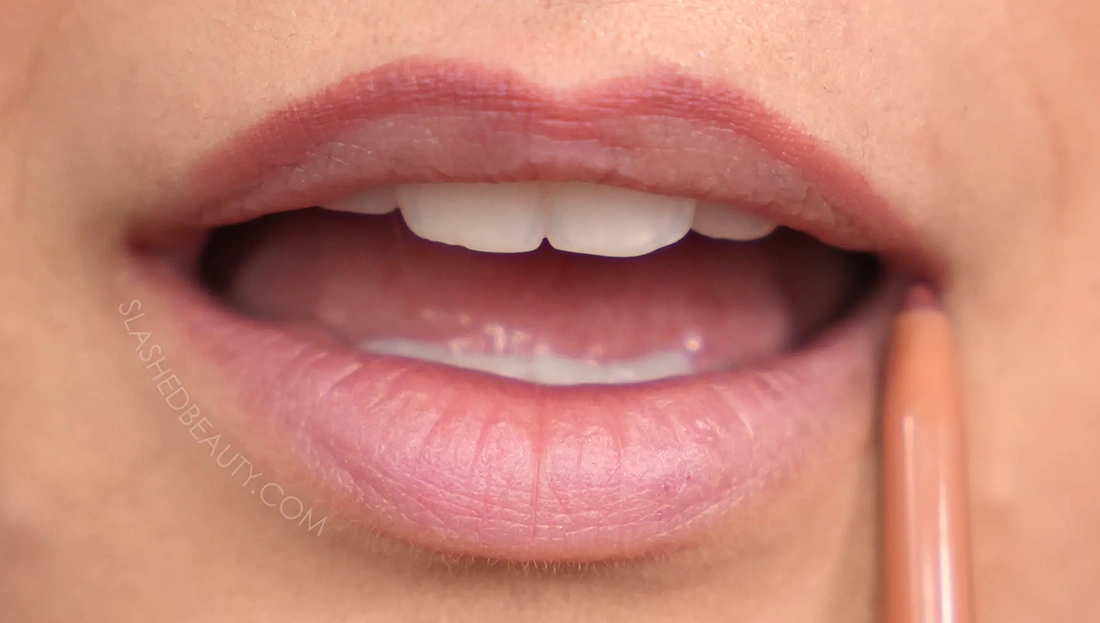
2. Meet Your Natural Lip Corner
3. Repeat on Bottom Lip
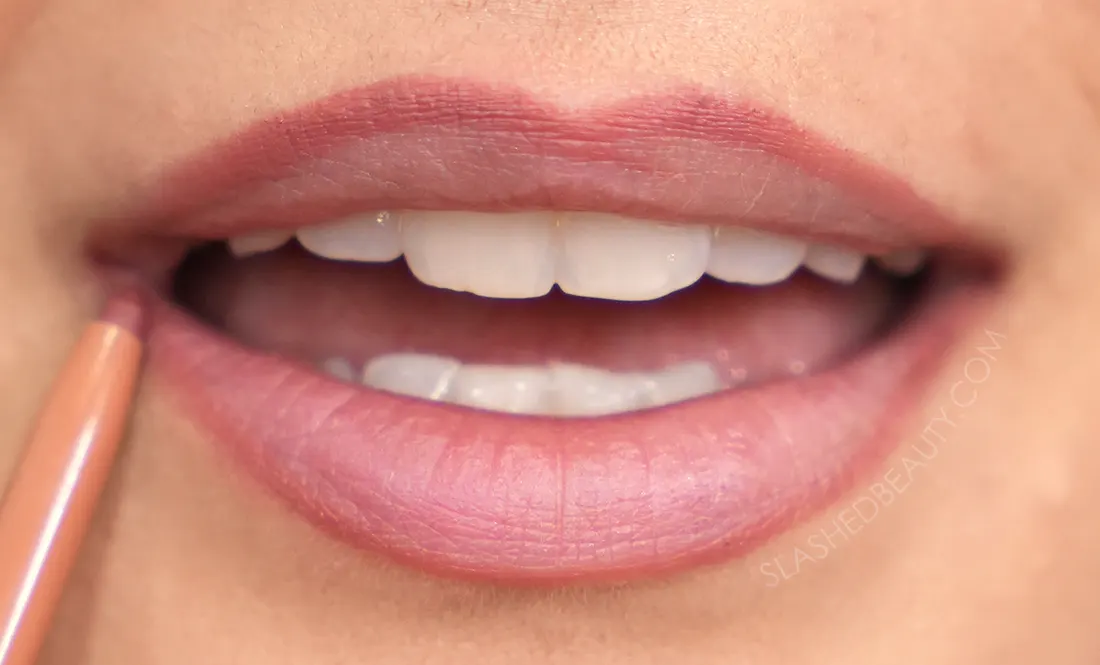
I start in the middle on the bottom lip as well, placing my liner just slightly below my natural lip line but curving it upward so that it meets my natural corner.
4. Fill In Edges
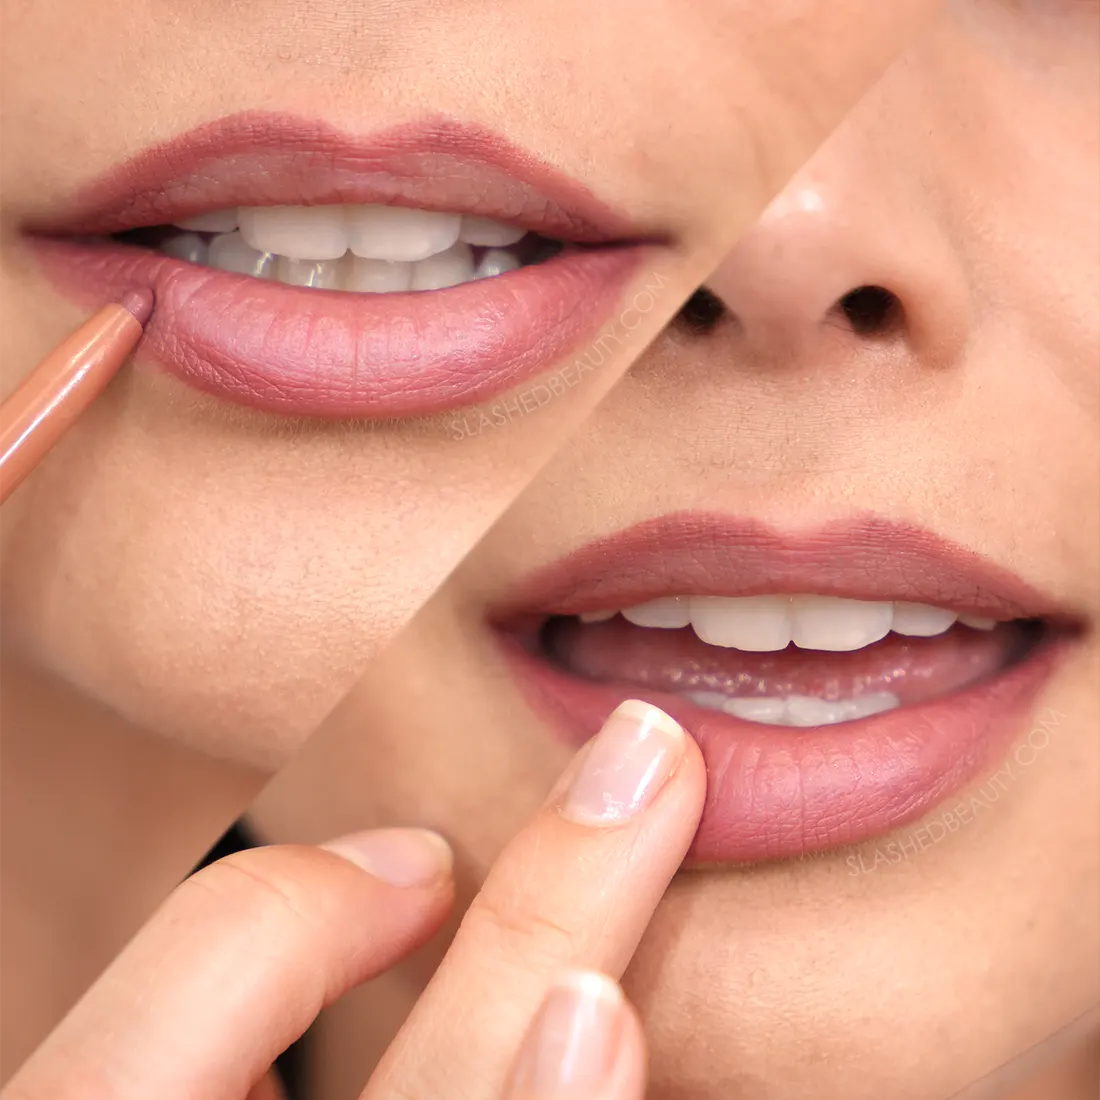
To create a better blend between the lip liner and lipstick, I fill in the corners on both the top and bottom lips with my liner, then use my finger to blend them inward. This helps contour the lips and make the liner look more realistic!
5. Fill In the Center
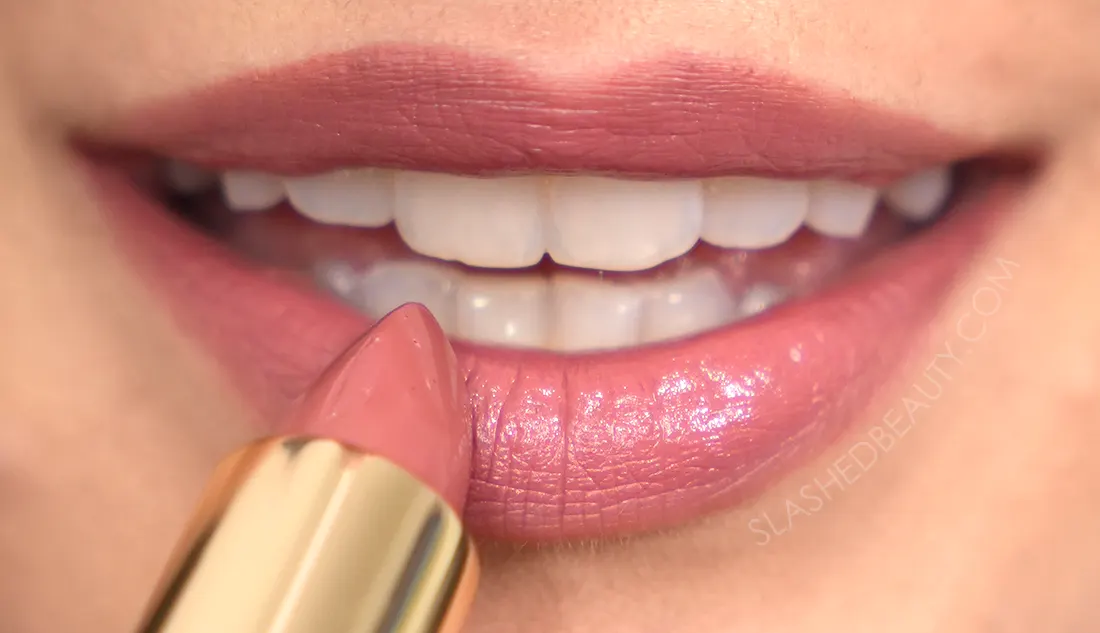
Finally, finish the lip look by filling in the center portion with your lipstick. You can choose either a matte or shiny lipstick, just don’t bring it all the way to the edges so your lip liner still shows!
Done!
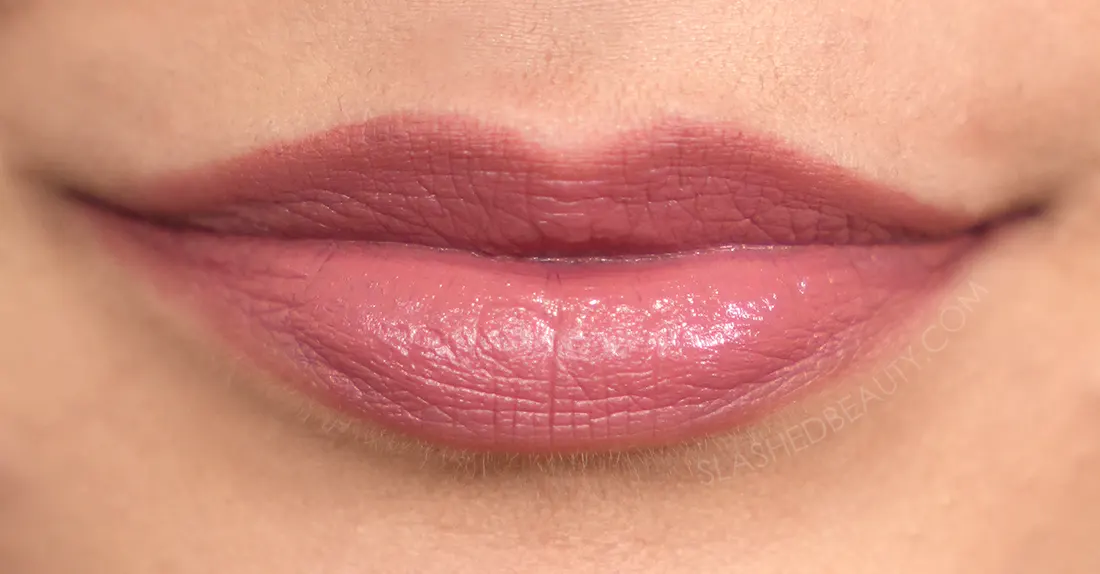
Practice makes perfect! Don’t forget to play around with different lip shapes like a sharper cupid’s bow, or even flattening it out to eliminate the dip!
Watch the tutorial below to see the routine step-by-step.
As a professional makeup artist, I can definitely vouch for the effectiveness of these techniques! The step-by-step approach you’ve outlined is spot on for creating a fuller, more defined lip look. The tip about using a slightly deeper lip liner to contour is a great way to enhance the natural shape without going overboard. Blending the liner into the lipstick for a seamless finish is key to making the look appear more natural and polished. These are fantastic tips that I’ll be sure to recommend to my clients!
Thanks so much for your kind words, Katya!
Hola me encanto tu sencilla y clara explicacion.Muchas gracias. Podras en algun momento mosyrarnos como realizarlo cuando las comezuras son caidas y los labios sonmas bien finos. GRACIAS
Is the lip colors listed in the beginning of your article the same color #’s/name as the original Pinterest post, before you open your article? It does seem to be a different color after you go into the article.
This post was updated a few years after the original was published in order to reference products that are still available.
My bottom lip has become thinner than my top lip as I’ve aged. My top lip still has nice shape to it. I turned 65 last April but have made an effort to take care of my face since my 20’s. I have consistently used sunscreen on my face as I live in Phoenix. How do you outline a thin bottom lip?
Going from the natural corner, gradually take the line on the outer edge of your natural lip. When you get to the center, the line should be directly under your real lip. Then bring it back up to the other corner meeting in the natural corner placement. The trick is you want the corners to match up to your real corners otherwise you’ll end up with joker lips, and emphasize the “overdrawing” at the center.
Wow I could have known this 5 years ago??? Excellent explanation. I can see how I’ve been doing it so wrong (didn’t color w liner and didn’t matte). Oops! Thanks for sharing.
Can you give me the name of the 2 pink colors used. Liner and lipsticks.
Thanks
They’re listed in the post: Make Up For Ever High Precision Lip Pencil in 20, Make Up For Ever Pro Sculpting Lip in 11
Ire indeed an artist…. bravo with the shape
Thank you, Nita!
wow, that little addition of the powder makes ALL the difference!