Breezy Half-Up Dutch Braids Hair Tutorial
This shop has been compensated by Collective Bias, Inc. and its advertiser. All opinions are mine alone. #RethinkYourColour #CollectiveBias
The weather has actually been pretty warm in L.A. over the past week, which I’ve been loving. It’s giving me an excuse to get playful with my hair, finding styles that can keep it out of my face with a fashionable flare. I’ve noticed myself getting in a hair rut, and it makes me feel so much more put together when I put even a little time into my hairstyle.
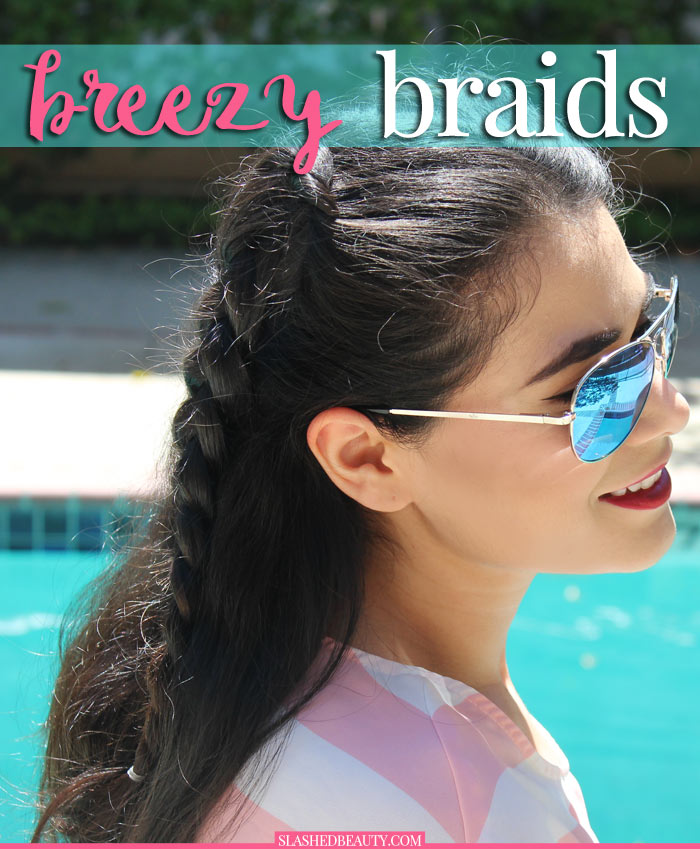
This breezy braid look is the epitome of a style that looks like you put in more effort than you did. As long as you know how to dutch braid, you’re set. It’s fantastic for holding my hair back, but still offers movement with its half-up-half-down structure.
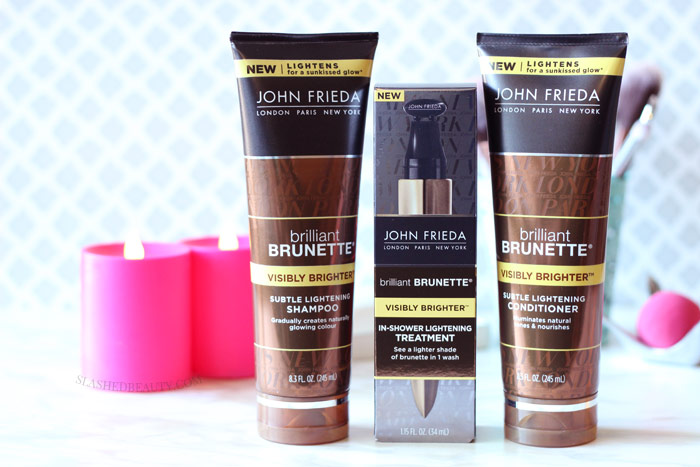
I wore this look out the pool over the weekend, and I noticed that it showed off my new hair shade really well. A couple weeks ago I posted on how I was using the new John Frieda Brilliant Brunette® Visibly Brighter™ products that I picked up from Walmart. In the sun, especially when my hair was in this layered style, I could see the subtle lightening effect the Brilliant Brunette® Visibly Brighter™ Subtle Lightening Shampoo, Brilliant Brunette® Visibly Brighter™ Subtle Lightening Conditioner and Brilliant Brunette® Visibly Brighter™ In-Shower Treatment gave my hair. I have a lot of additional dimension now, my natural highlights illuminated, which makes the braids look even nicer. I grabbed the products in-store, but I know not all stores carry the Visibly Brighter™ Treatment. If you can’t find these at your local Walmart, they’re all available at Walmart.com.
Keep reading to see how to recreate this breezy dutch braid hairstyle!
Step 1.
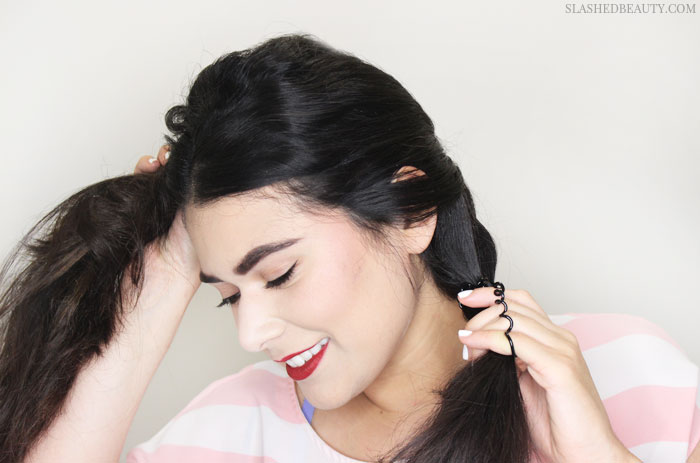
Separate the top half of you hair from the bottom half. Section off the bottom half with a ponytail to keep it out of the way.
Step 2.
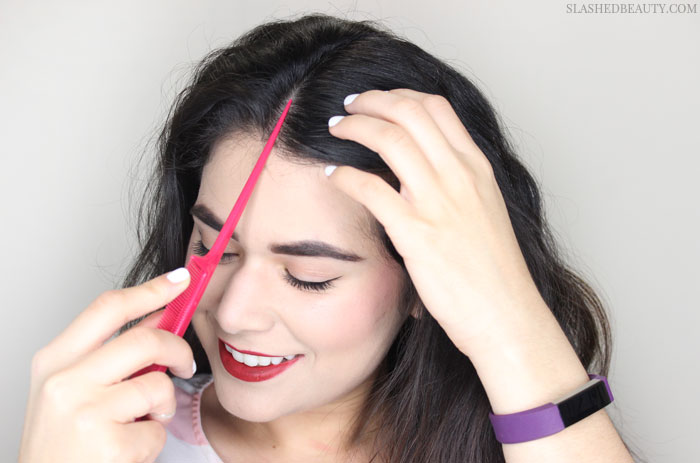
Use a comb to create a part down the middle of the top section of hair.
Step 3.
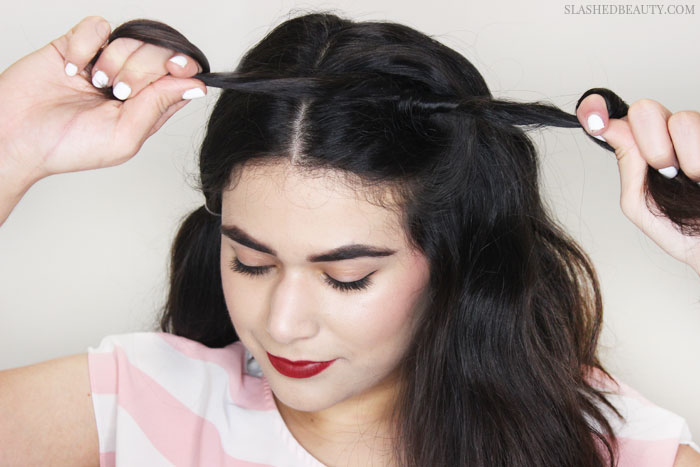
Starting on one side of the part, take two one-inch sections and tie them in a single knot to mark the starting point of the braid. Pick up a third one-inch section between the two and start the dutch braid. A dutch braid works the same way as a french braid, picking up more hair on each side as you go, but instead of weaving the hair OVER each section, you weave it under.
Step 4.
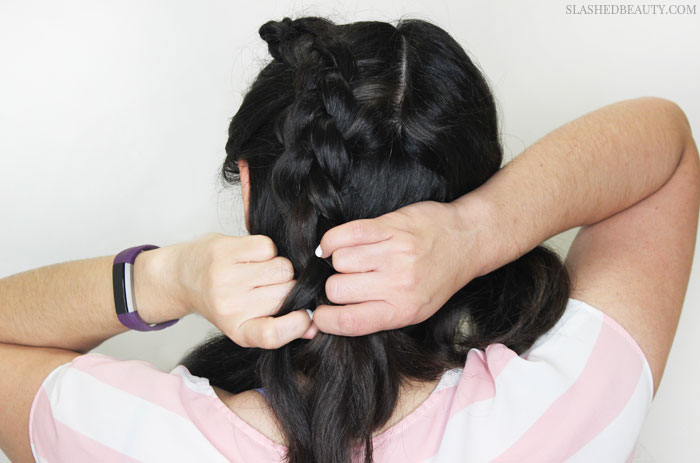
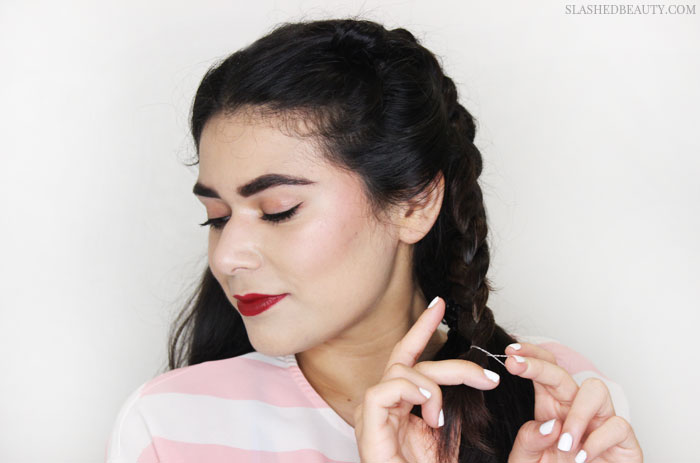
Once the braid gets to the point where there is no more hair to incorporate, finish the braid normally and tie with an elastic.
Step 5.
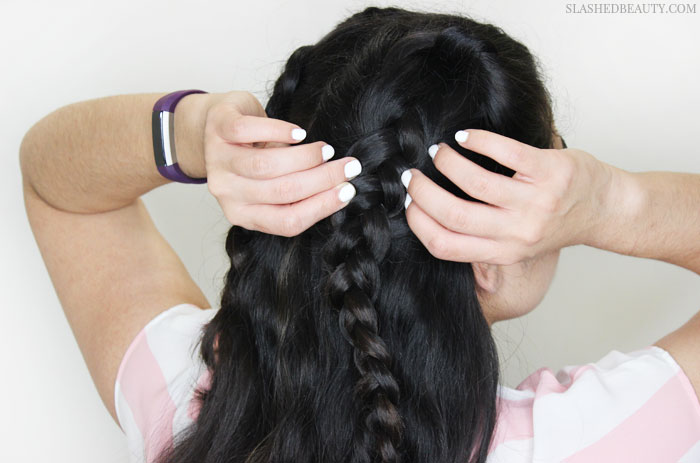
Create a second braid with the other half of your top section and tie it with an elastic at the end. To make the braids look thicker, tug at the edges gently.
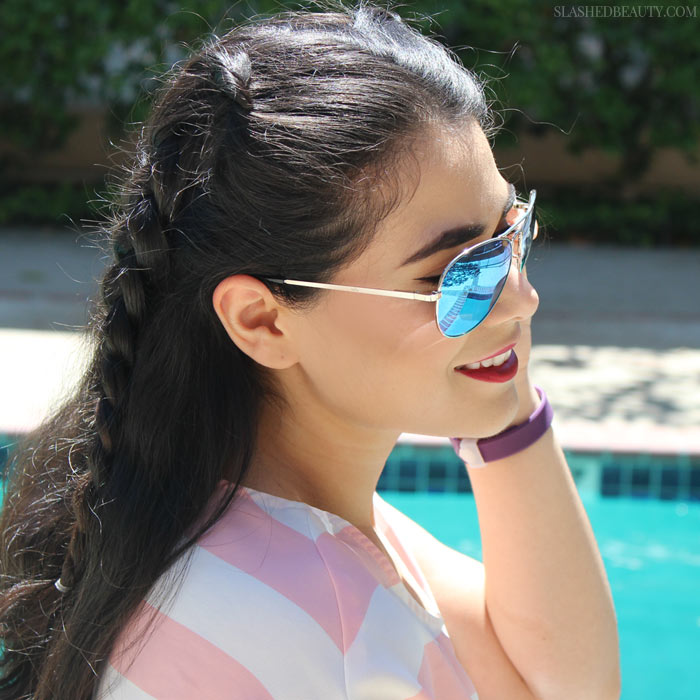
This is such an easy and care-free hairstyle that’s more interesting to look at than a ponytail or topknot, but still gets my hair out of the way for warm or busy days. I also love how it shows off my hair shade as it gradually lightens with the John Frieda Brilliant Brunette® Visibly Brighter™ products. I’m even happier that my hair is looking this spring-ready without having to have spent a ton of money at the salon. Win, win, win!
If you like this hairstyle, don’t forget to pin it!


This is such a cute look on you!
Great tutorial! This style looks lovely on you 🙂
So easy, I love the lift of the Dutch braid over that knot – it adds a great look. Your hair turned out great! #client
Thanks! It also helps keep the braid in place while you’re working your way down 🙂
I love your braid tutorials and “try” to recreate them, though they never look as pretty or neat as yours.
Perhaps straightening your hair first can help them stand out and look neater!
Great hair tutorial. Your sunnies are so cute too
You are so talented with your hair.
But see, I only do styles that make me *look* talented but really require no effort 🙂
SO cute! It’s the one thing I miss about my long hair!
Such a cute, fun look!!
This style makes me wish I had long hair, so pretty!
did you combine the braids at the end?
Nope, I left them as two separate braids… but combining them sounds like such a cute idea!
I love your hair. I do braids all the time, but no one can see them in my messy curls! lol.