Easy DIY Earring Frame
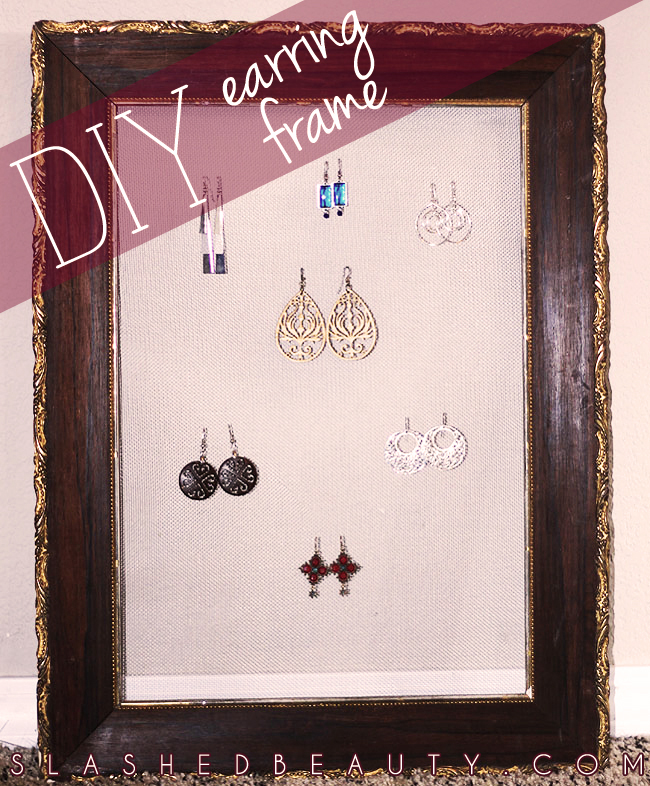
Last month, my mom randomly sent me a picture of a really cute earring frame. It had a shabby chic vibe, and was totally functional. When I asked her where she bought it, I was surprised to hear that she had made it herself! Since when is she crafty?! Anyway, I told her if she ended up making another one, to take pictures along the way so I could share the project with you all. Luckily, she wanted to make a second one for a friend. This easy DIY earring frame is a quick project that will help declutter your space while displaying your pretty accessories.
Tools:
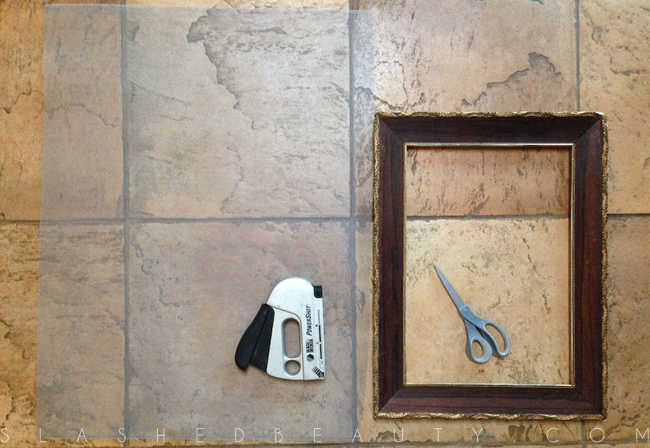
- Scissors
- Staple Gun (you might also be able to use an opened office stapler, depending on how tough the frame is)
- Wooden picture frame with glass and backboard removed. You can find cute vintage frames for a few dollars at your local thrift store.
- Screen material, which you can normally purchase by the foot at any hardware store. Get as much as the entire length of the frame so you have room to trim. It’s better to have extra than not enough!
Steps:
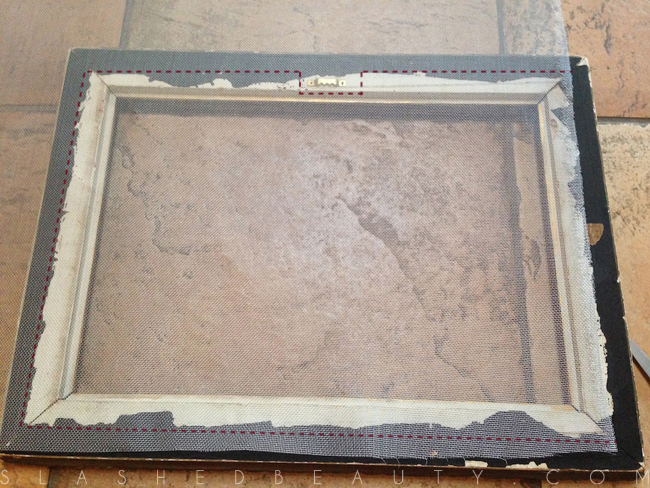
Trim the screen material to about 3/4 of an inch bigger than the opening of your frame
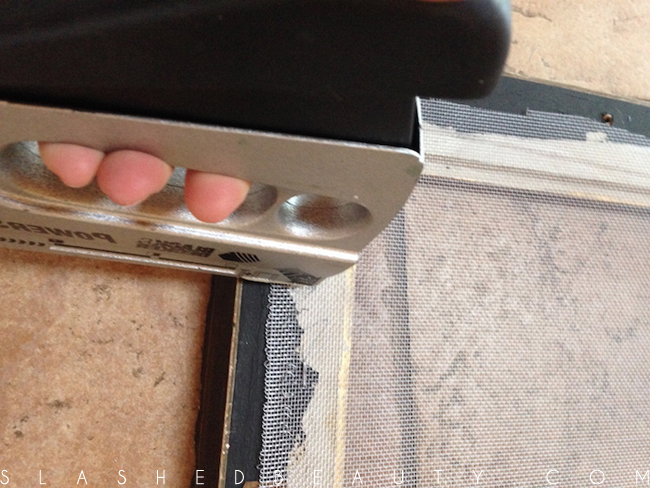
Staple the screen on the back of the frame. Start with all four corners, and work your way in until all edges of the screen are secure against the frame. This method helps ensure that the material is taut and centered.
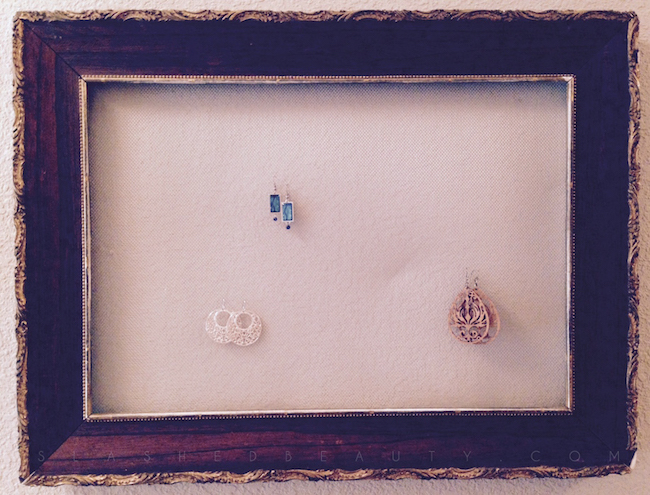
You’re done! Wherever the frame’s nail hook is will determine the orientation your earring frame will hang (vertical vs. horizontal), so keep that in mind when you purchase it. The frame has the potential to hang a ton of earrings, and will last a while since the material is sturdy.
How do you display your earrings?


I’m not crafty at all, but even I could probably do this… though I would MUCH rather have your mom do it for me. I mean, it’s almost Christmas, right? 😉 lol