My Best Hack for DIY Long Lasting Vacation Nails
Before recently, I would always struggle with the same dilemma right before traveling: what should I do about my nails?! Do I go to the salon and shell out for a gel manicure, or do I just paint my own nails and be prepared to touch them up on my trip… which then involves bringing my nail routine products with me. Of course, not every vacation calls for polished nails, especially the more adventurous ones. But for work travel, special events or itineraries with upscale plans involved, I hate leaving home with bare nails. I hate chipped nails even more, though.

For my last few trips, ranging from 4-8 days, I’ve tried out this nail hack for long lasting vacation nails that has seriously been a game changer! It’s so simple, but you’ve gotta be a fan of a little sparkle.
My secret vacation nails weapon: glitter polish. Seriously! We all know how annoyingly hard it is to remove, but it’s hardiness comes in handy when you want it to stay on for extended wear. Not only is it typically long lasting, but in the event you do end up with chipping, it will be much less obvious than with a solid color.

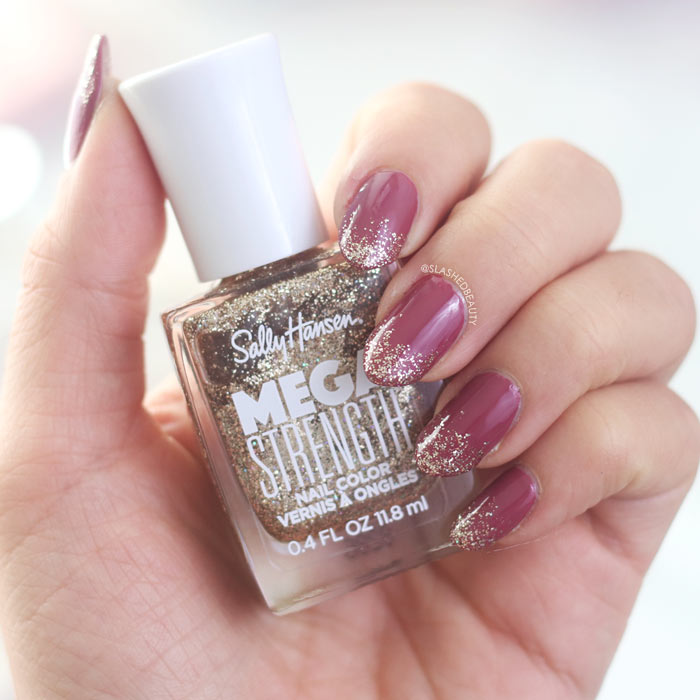
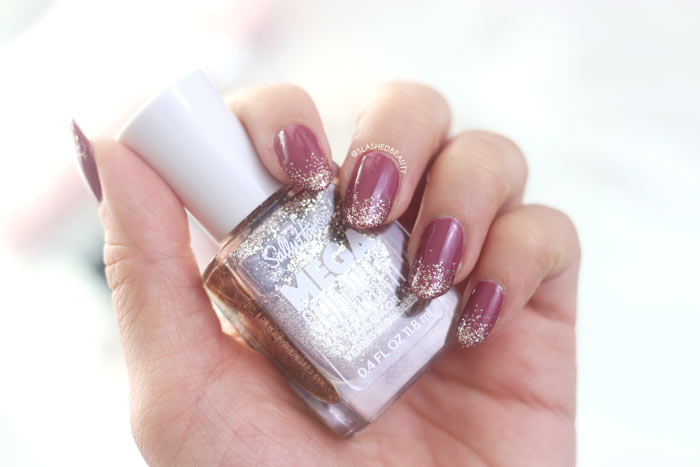
You can either cover your entire nail with glitter, or for something a little more subtle with the same benefits, just apply it to the tips of your nails. This creates a cool “dipped” gradient look that will cover the part of the nail most prone to chipping and wear.
Of course, I still use my favorite long lasting nail products that will help maximize the hack.
Step 1: Sturdy Base Coat
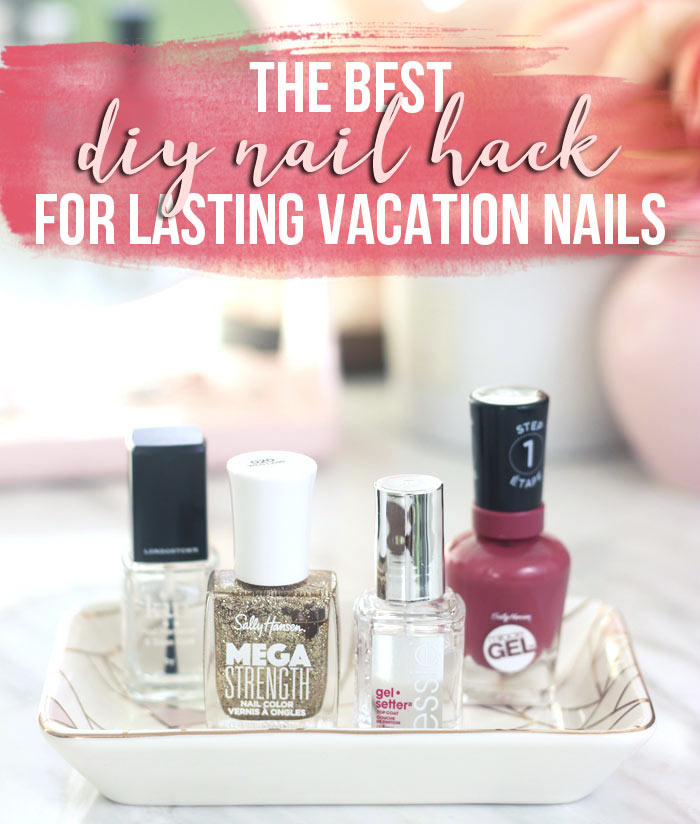
A good base coat will not only help protect your nails, but also give your polish a smooth surface to help it live up to its wear time potential. The Londontown Lakur Base Coat & Nail Hardener has been a staple of mine for years because of the noticeable effects that haven’t been outperformed by anything cheaper. Not only does it do an awesome job at protecting the nail against staining and giving your polish an even base, but it fortifies your nail against breakage (something else you won’t want to deal with on vacation) and strengthens them over time.
Step 2: Long Lasting Polish
If you’re not going the full glitter nails route, apply the polish color of your choice next. Use a long lasting polish formula, such as a gel polish that doesn’t need to be cured with a light. There are so many of these available at the drugstore now that aren’t as harsh on the nails as a salon manicure, with similar performance. I love the Sally Hansen Miracle Gel line; I used for this particular manicure was Beet, Pray Love.
Step 3: Glitter!
If you you skipped step two, go ahead and just cover your nails in sparkly goodness! If you only want glitter on the ends for the dipped look, start at the tip to pack the majority of the glitter there. Use what’s left on your brush to stroke lightly toward the cuticle, applying the glitter more sparsely. The glitter I used in this manicure was the Sally Hansen Mega Strength Nail Color in wild card.
Step 4: Top Coat
Finally, finish off the manicure with your most reliable top coat. I absolutely love the Essie Gel.Setter Top Coat, which also mimics the shine of a salon gel manicure. It is also one of my favorites because of how long it helps keep my manicures chip-free.
READ MORE: How I Got My Nails to Stop Breaking Weekly
As I mentioned, glitter conceals any chipping and wear very well. However, if you’re super particular, you can just bring along the glitter shade to do quick touch ups at the tip as needed. It’s much easier to layer glitter without starting on a fresh nail than a solid color is after it’s been chipped.

These DIY vacation nails have lasted me over a week with great results, so my manicure is one less thing to worry about when traveling.
Do you do anything special for your vacation nails?

