How to Fix a Broken Nail using KISS Silk Wrap Repair Kit
My nails and I have had a tumultuous relationship over the course of my life. I was a big nail biter from age 3-16, and also had acrylics put on back-to-back for a couple years (in attempt to get me to stop biting them). When I did finally kick the habit my senior year of high school, my nails were thin, brittle, and tore constantly.
While they’ve definitely been getting better of the years, I still face broken nails every so often, and they are the bane of my existence. Especially when the rest of my nails are looking so good and maniured, a broken nail just kills the vibe. I hate having to cut broken nails down to a nub… such an eyesore!

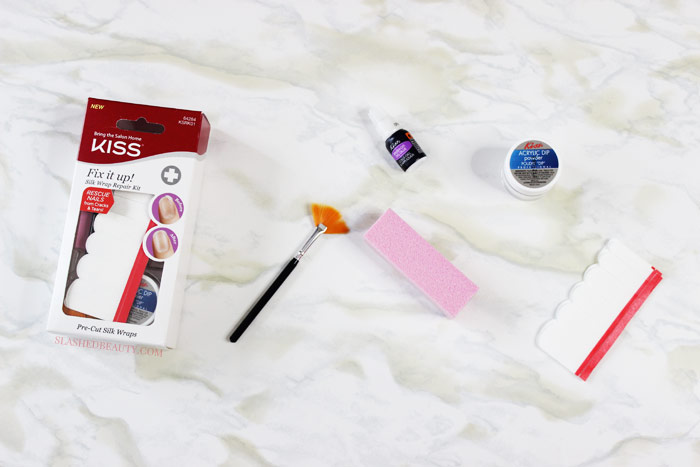
In an attempt to find a way to fix broken nails without sacrificing a killer manicure, I discovered the KISS Fix It Up! Silk Wrap Repair Kit. The kit, which you can find in the drugstore, gives you all the tools to fix and strengthen a broken nail so you can keep them looking polished.
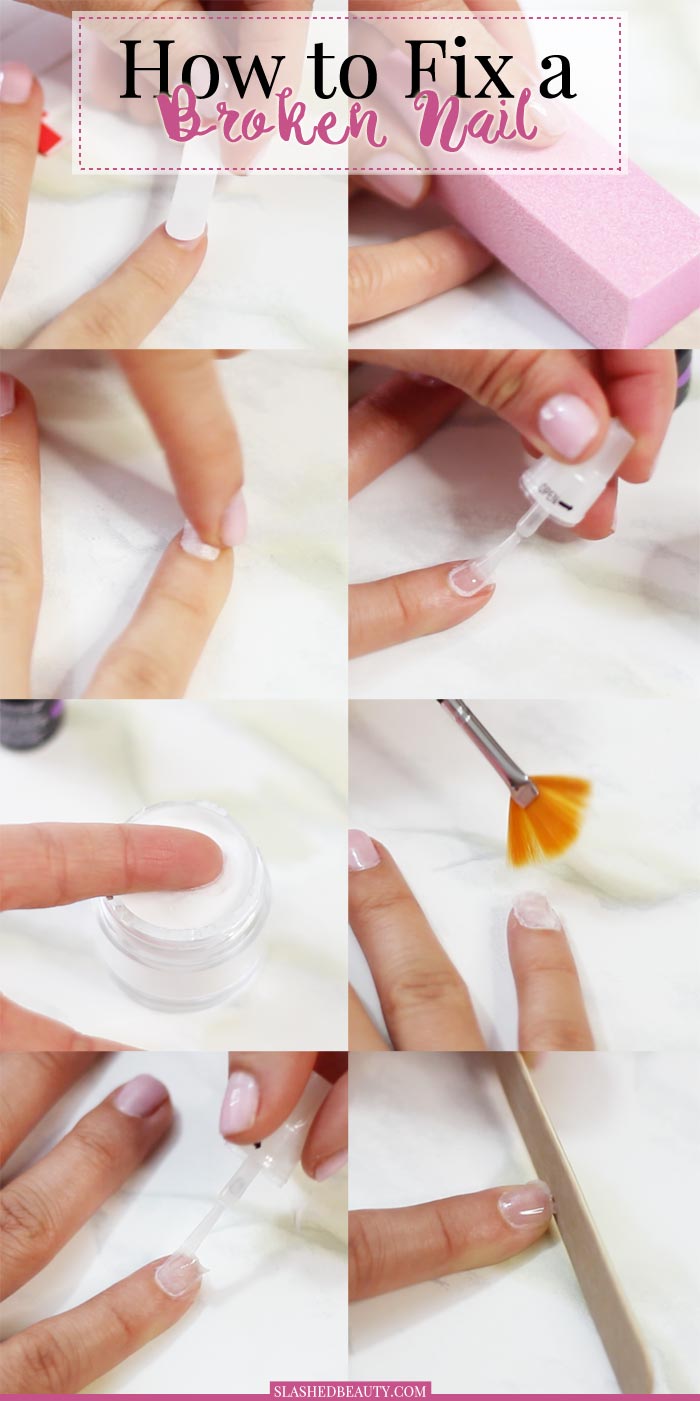
Watch the video above for the step-by-step tutorial on how to use the kit to fix your broken nail.

How to Use the KISS Silk Wrap Repair Kit:
- Choose the silk strip that best fits the width of the nail you want to repair.
- Buff the surface of the broken nail to remove dirt and oils, and smooth out the surface.
- After cutting the silk strip down to size, remove the plastic backing and press firmly onto your clean, unpolished nail.
- Being careful to avoid the cuticles, apply the brush on glue over the silk strip. The strip will become transparent under the glue.
- While the glue is still wet, dip the nail surface-side-down into the acrylic dip. Let it dry and set for a few minutes.
- After it’s dry, use the fan brush to dust off excess powder.
- Lock everything in place with a final layer of glue. Let it completely dry for about 7-10 minutes.
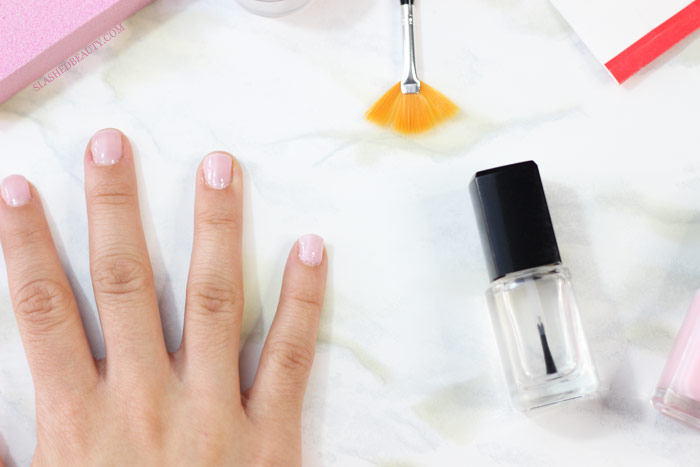
- File the nail to your desired shape, and you’re ready for polish! I chose Londontown’s Invisible Crown, which is a beautiful neutral pink that conceals the break well. I topped it off with their Protective Top Coat to make the shade last.

After a little polish and top coat, you can’t even tell the nail was ever broken to begin with! This saves me from having to wait ages for my nail to grow out again, as well as money spent going into the salon to fix it. The end result feels natural, and is easy to take off with acetone once your nail is long enough to cut.
You can get the KISS Fix it Up! Silk Wrap Repair Kit at KISSusa.com for $7.99 — it’s a total lifesaver!
How do you deal with cracked or broken nails?


This was such a helpful little tutorial!
I usually just trim the nail and trim the rest to match… But maybe next time I will try this!
Sometimes if I’ve spent a lot of time doing a manicure and ONE breaks, I don’t want to cut them all down 😛 That’s why I love this one!
Ahh, I could have used this a few weeks ago when I had a broken nail! Saving for the next time!
I’m sure one will come around again 😛 They always do!!
Totally sharing this with my teen! She’s always complaining about the one broken one.
This kit is a nail saver indeed!
Everyone needs a kit like this to have handy. You never know when you might need a quick nail fix!
I watched the video yesterday and I’m impressed with this kit. I wish I had it around when I was constantly breaking nails. I’m going to see if I can find this to have it on hand.
There’s nothing worst than a chipped nail! Great tips, thanks a bunch for the tips!
We travel a lot and I swear I can’t even look at my suitcase without breaking a few nails–I will definitely be giving this kit a try!
How did I not know about this?! I so need to get some! I was just complaining about how horrible broken nails are!
Brilliant! I need one of those kits asap, my nails are the brittlest.
Good to see these repair kits available! I used to use them years ago and then for the longest time I couldn’t find them anymore. I’ll keep an eye out for them now!
Definitely a must-have to keep on hand. I always break a nail at the worst possible moments!