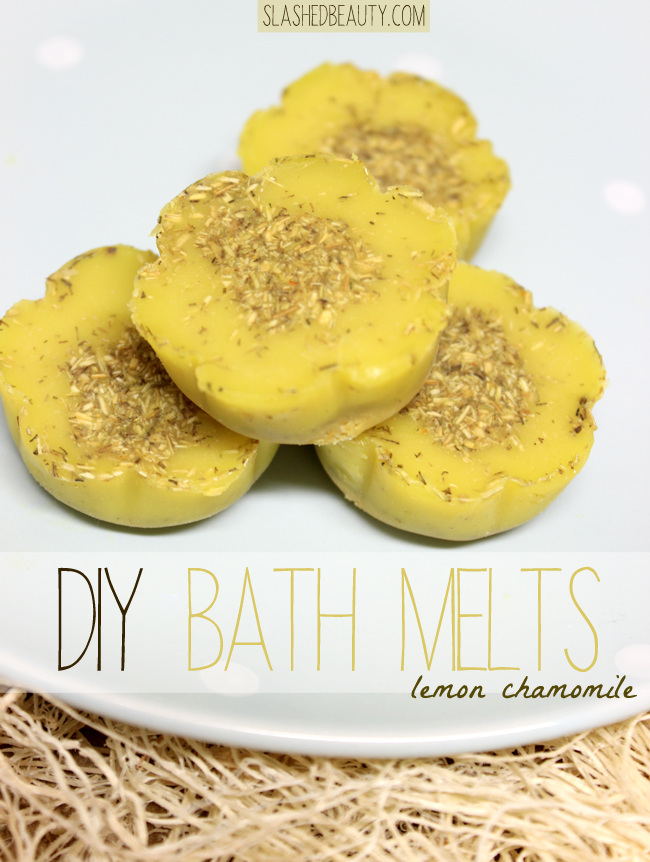
DIY Lemon Chamomile Bath Melts Recipe
I’m not sure if anyone will actually ever win the shower vs. bath debate. While I’m a shower person for the purpose of cleansing my body, nothing beats a warm bath to relax the muscles, open the sinuses (hello, allergy season!), and just chill. But as great as they feel, sitting in hot water can suck the life out of your skin— that is, unless you’ve got a bath melt handy!

This DIY bath melt recipe is super easy and you might just have everything you need at home already. Each ingredient is beneficial to the skin and body, enhancing your relaxation. I specifically used lemon essential oil, which is a natural antioxidant and made these smell like lemon cookies… yummm. However, you can customize this recipe to your own scent preference with different essential oils. The shea butter and coconut oil are power moisturizers, while the epsom salts and baking soda draw out toxins, soothe skin irritations, as well as relax the muscles. Use whatever shade of food coloring you prefer— the more you add, the more colorful your bath water will be!
Heed this warning though, your tub might be slippery after using this so please be careful standing up after you’re done with your soak. There’s nothing more unrelaxing than slipping and hurting yourself!
Watch the video at the top of the page for the full step-by-step tutorial.

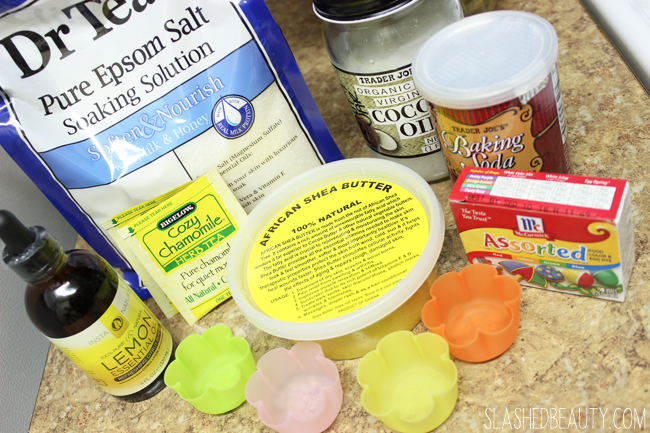
What You Need:
- 100% Natural African Shea Butter
- Lemon Essential Oil
- Chamomile Tea
- Dr Teal’s Pure Epsom Salt Soaking Solution
- Coconut Oil
- Baking Soda
- Food Coloring (Optional)
- Silicone Molds
Steps:
- Using a double boiler, melt 1/4 cup shea butter.
- Add 1 tbsp of coconut oil and combine.
- Remove mixture from heat, and let cool slightly (about 5 minutes).
- Add 1 tbsp of baking soda and combine.
- Add 1/2 tbsp epsom salts.
- Mix in about 15-16 drops of the lemon essential oil.
- Rip open a tea bag and add about a quarter to half of the bag into the mix.
- Optional:Add food coloring, which can help tint bath water for a fun experience.
- Spoon the mix into the silicone molds, and place in the fridge for one hour. You can pop them out of the molds, or store them in the molds in a cool place (or the fridge) until use.
Why take a regular ol’ bath when you can have a delicious-smelling, spa like experience at home? While purchasing all of these ingredients may surpass the cost of buying a pre-made bath melt, you’ll be able to make piles of these! They’re also great to give away as gifts.
If you try this recipe, post a picture and tag me in it!


They came out so cute, hee-hee! I love bath melts, but sadly our current place doesn’t have a proper bathtub. I’ll try your recipe if we ever move, lol.
So this may seem like a silly question, but with the oil and shea butter, isn’t your bathtub slippery as all get out? I can just see myself biting it and laying there concussed for 3 days because I did this…
Yes! That is a very good point and I will add it to the post, thank you. This can make the bottom of your tub slippery, especially if it’s not textured or you don’t have a bath mat so definitely just get up slowly and don’t try hopping around. Once you run your water over the tub again for your next shower, it shouldn’t be a problem anymore.
Wow, great tut! I didn’t know there was a debate haha. I love both! I like to have a long soak in the tub on my weekend, it relaxes and rejuvenates. I use coconut oil and olive oil for a bomb moisturizing combo! But ‘ain’t nobody got time for that’! during the week haha .Ok, well not me anyways 😛 I really have to get into essential oils! Although, I currently use Bath and Body candles for my fragrance 🙂 (I can’t use sulfates, and they are in everything for baths! Bah!).
Haha yeah I hardly have time for baths but when I do, I love using these to really relax!! Argh yeah it’s hard to escape sulfates but luckily more and more companies are cutting them out of products. Thanks for commenting!!