Whether you’re looking to amp up your skin care routine for the season, or maybe you perpetually live in a drier climate, a facial steamer is a must-have to help retain your skin’s glow and maximize your products’ results. It’s been one of my skin care staples for a little over a year now, and has made a huge difference in the effectiveness of my routine.
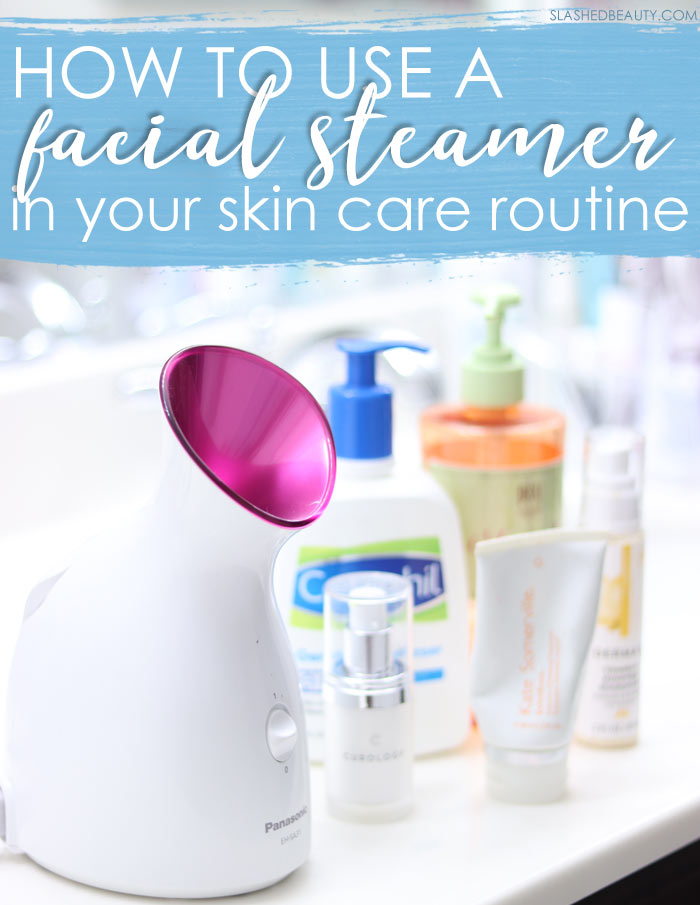
Steaming my face has always been one of my favorite parts of professional facials. Not only does it help me relax, but it helps the products sink into my skin more effectively! Steam helps open your pores so you get the most out of your routine. It also helps keep your skin moisturized and smooth, which is especially important in dry climates. It was a no-brainer to add the step to my at-home regimen to get the same results.
I’ve been using the Panasonic Facial Steamer which is the perfect size for at-home personal treatments. It uses ions to create nano-sized steam particles to penetrate the skin, help deep cleanse and complete your at home facial. It gives me a little piece of the salon at home with a 6 minute steam cycle which keeps my routine streamlined.
Keep reading to see my DIY facial routine, plus how I use a face steamer to maximize results.
1. Cleanse
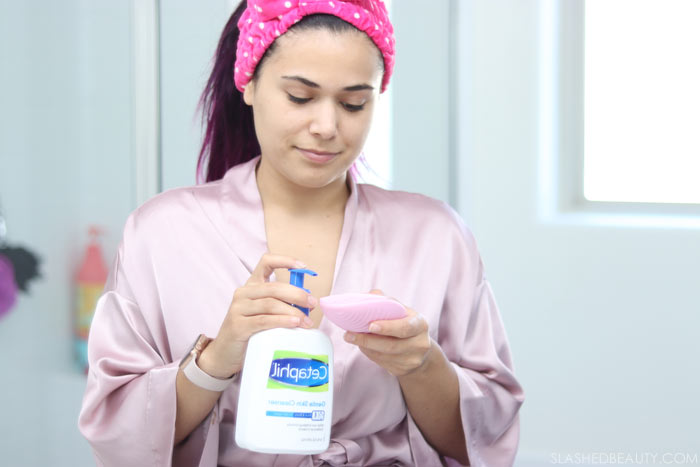
First, I start out by cleansing— or double cleansing, if I have makeup on. I’ve been using the Garnier SkinActive Micellar Makeup Removing Towelettes to get the majority of makeup off my face. Then, I’ll use a cleanser to get the rest of the residue, oil and dirt from the day. I’ve been going between the Cetaphil Gentle Skin Cleanser when I want something mild, and the Biore Baking Soda Cleansing Scrub when I need extra exfoliation.
2. Exfoliate
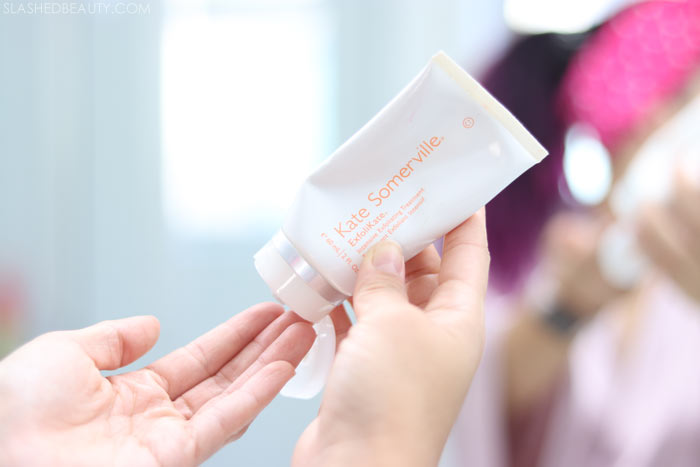
Then, it’s time to exfoliate! Since my toner exfoliates as well, I only use a physical exfoliant once-in-a-while when my skin is looking rough. Because exfoliating makes your skin more sensitive, it can make steaming feel a bit harsh. My favorite and most effective exfoliants in my collection is the Kate Somerville Exfolikate. It has both enzyme exfoliants and physical scrubbing particles for double duty. It’s definitely a more expensive product, but I see a difference after one use almost every time. Plus, it lasts me a while since I only use it as needed.
3. Steam
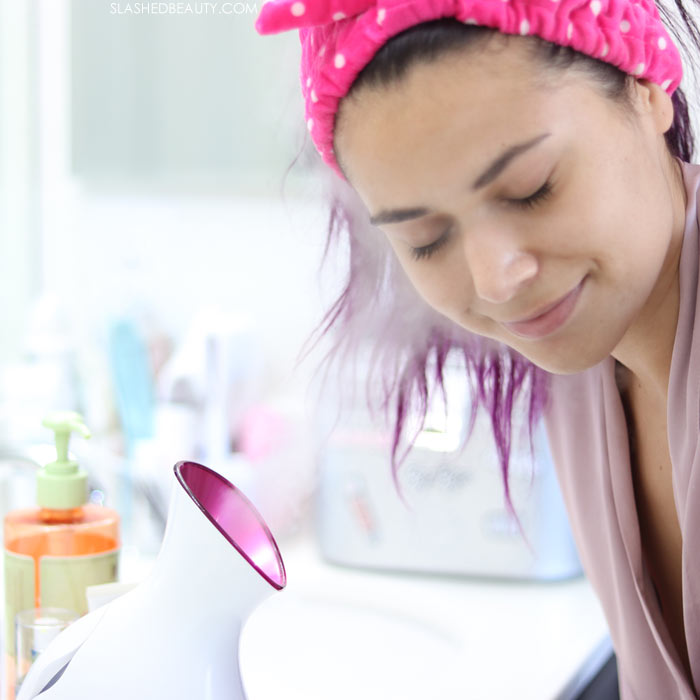
Time for the main event! I fill the water reservoir and turn on my personal steamer. When the steam starts flowing, I place my face about 8 inches away from the nozzle.
While my steamer has become my new skin care best friend, you can DIY a steam session by boiling water and pouring it into a bowl. Lean over the bowl and put a towel over your head to trap in the steam.
I steam my face for a couple minutes, which helps draw out even more impurities. Then, I quickly move on to the next step…
4. Mask + Steam
Next, I apply a face mask— which one depends on what I feel like my skin needs. With my pores opened from the steam, my masks will work on overdrive while really sinking in deep. When I’m breaking out, I reach for my Glamglow SUPERMUD Clearing Treatment. With this mask, I usually only apply it over my problem areas to help save and prolong product since it’s so expensive… but it totally works on me. Otherwise, I’ll use a hydrating mask like The Body Shop British Rose Fresh Plumping Mask (reminds me a lot of the fresh Rose Face Mask but cheaper) With the mask applied, I sit in front of the steamer until it runs out.Then, I’ll wait out the duration of however long the mask is supposed to sit for.
5. Tone
After rinsing off my mask and putting away my steamer, I tone with my Pixi Glow Tonic. This helps close my pores and provide balance to my skin. The formula helps accelerate skin renewal and has played a big part in fading my acne scars.
6. Acne Treatment
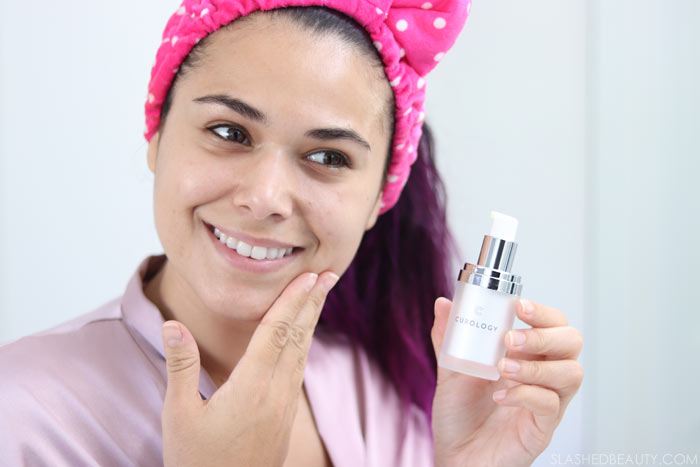
Next up is my acne treatment. I’m still using my Curology treatment after 3 years now. It’s my daily cream that keeps blemishes under control. For the stubborn zit, I use The Better Skin Co. Zit No More which helps reduce larger pimples overnight.
8. Moisturize
Finally, I moisturize. I’ve been loving the Derma E Vitamin C Renewing Moisturizer. Vitamin C is a great ingredient for toning and clearing up the complexion. After applying, I use a jade roller for a quick face massage.
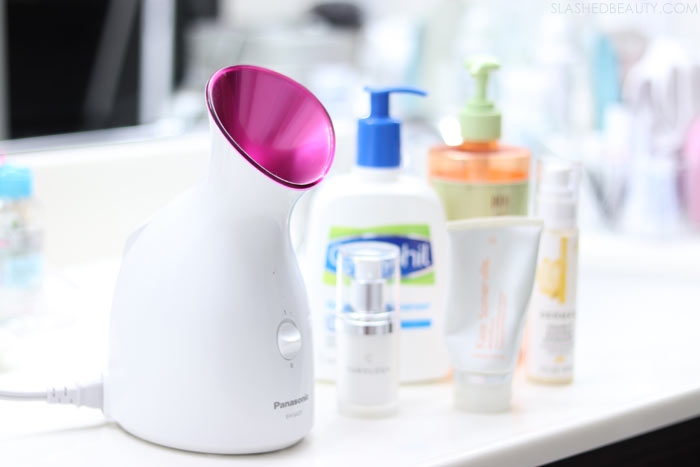
While on its own, this is a great nighttime skin care routine, the facial steamer brings it to the level of a “facial.” The steam helps get a deeper clean, moisturizes and gives your products a chance to work to their full potential as your pores open. I notice my products working faster when I’m looking for specific results when I incorporate my steamer… so for a 6 minute addition, I’m getting a big payoff!
Have you ever used a steamer in your skin care routine?


Lisa Hill
Nice article! There is the best skincare routine in this article and I can add some new steps in my skincare routine. Thanks for sharing.